7 Tips for Photographing Running Events
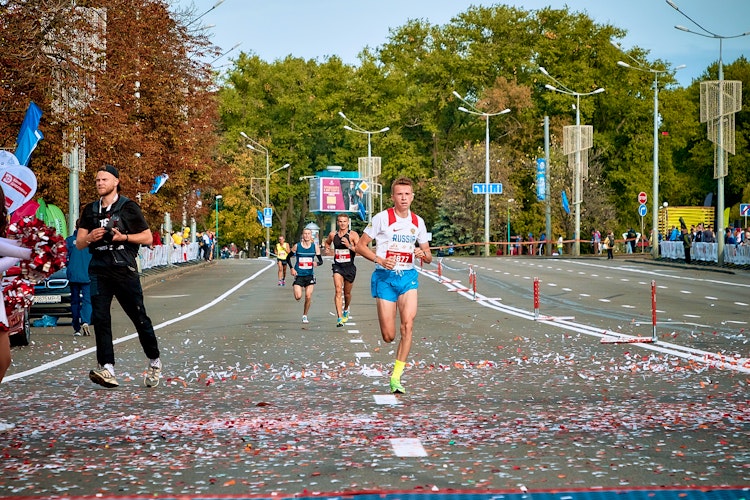
Marathons, half marathons, and other running events are highly emotional. Often, people train for these events for months. And you’re tasked with capturing their emotions and packaging them up as memories stored in a single photo.
You want participants to look at their photos and remember how it felt, what the day was like, and what thoughts ran through their minds as you snapped a photo of them in all of their glory.
Photographing running events can be tricky, and there’s certainly an art to it. But don’t worry! Whether you’re a veteran photographer or you’re just starting out, we’re confident we can add a tip or two to your toolkit, allowing you to shoot better photos at your next running event.
So, how do you capture the best photos when shooting photos at a running event? What best practices should you follow, and how do you stand out from the other photographers?
We recommend that you do the following...
1. Prepare for the running event
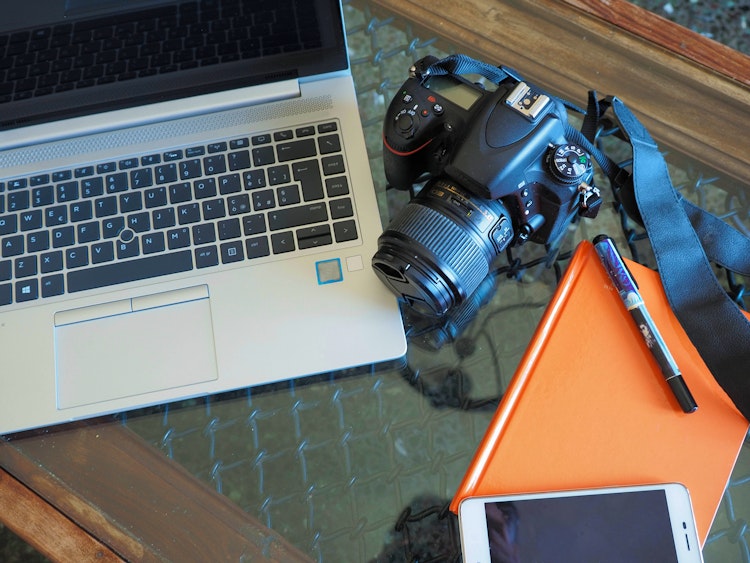
Yes, it’s a simple piece of advice, but inadequate preparation always leads to subpar photos. Prepare ahead of time, charge and pack your batteries – and that includes an extra battery pack – and get to the course in plenty of time.
Arrive earlier than expected. This allows you to set up, play with angles, and find the best spot on the course. You likely won’t be able to use a tripod, especially if working in crowds. So while that means less kit to carry, it also means more tweaking of your set up!
If you’re short on time or you want to put in a little extra work, you can scout the course beforehand, perhaps the day before the race or in the hours preceding the event. But at the very least, use Google Maps to help you find a few possible locations to shoot.
2. Find the best location on the course
Where you position yourself to take your shots is very important. If you set up base at the top of a hill, you’ll capture more raw emotion – the same applies to photographing the finish line of a race.
If you’re shooting photos of a marathon, the last 9 miles or so are full of emotion. It’s when the self-doubt kicks in, the legs get tired, and the runners battle with all their might to put one foot in front of the other.
You also want to take into account the lighting – mainly the position of the sun. Having the sun in the background can improve the lighting and the overall photo quality. And if you do want to capture more up-close shots, a corner is your best option, as this often allows you to get a little closer to the action.
3. Capture good running form
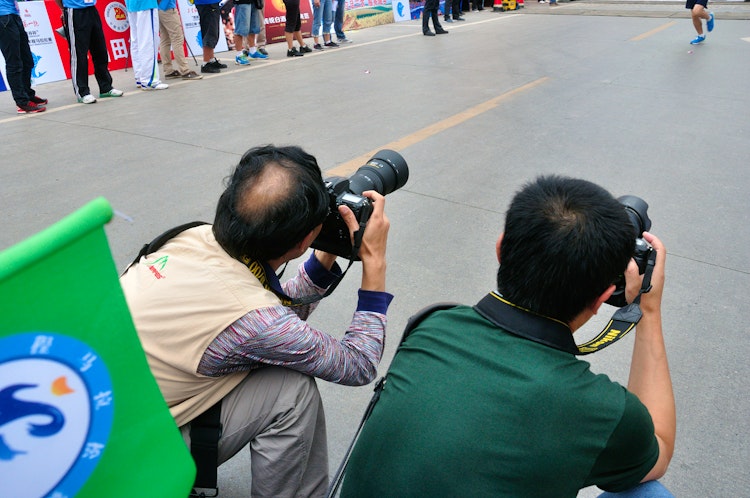
Look at any elite runner, and you’ll see a running form masterclass – arms high and controlled, hips driving forward with intention, and mid-foot to forefoot striking. All runners want to feel this way – they want to feel fast. So it’s your job to capture them at their best!
If you’re taking multiple photos – which we would recommend – choose the ones with the best running form. Nobody wants to buy a photo where they look out of breath, tired, and unfit. They want to look fast, strong, and like they’re running – and winning – their own race!
Try to capture the downward motion of the runner, and use burst mode to hand-pick the best shots with the best running form.
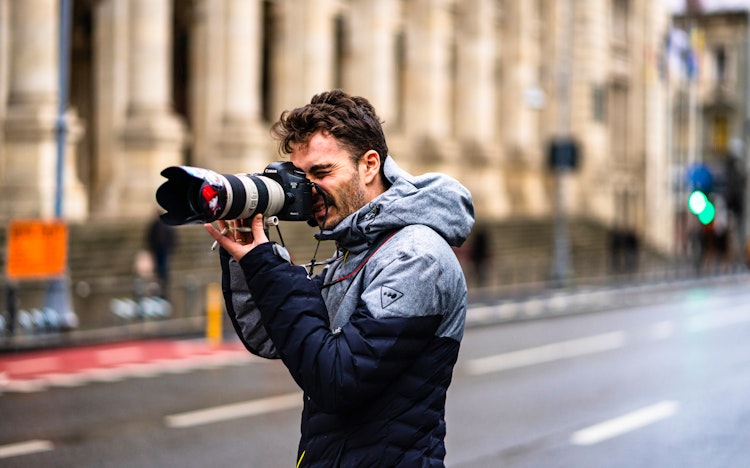
4. Use a long lens (70mm +)
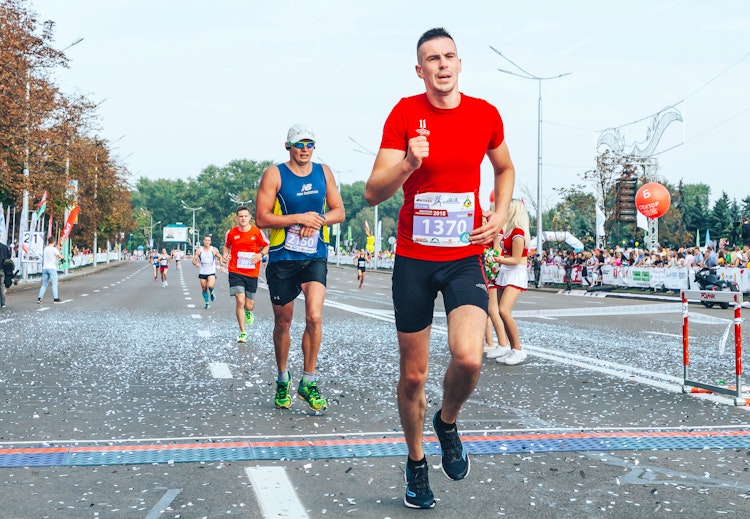
Some running events allow you to get closer to participants than others. However, larger events, like marathons and half marathons, have barriers and other safety measures in place that mean you can’t get close to the runners.
Consequently, you’ll need a long lens to shoot high-quality photos. Look for at least a 70mm and up to a 200mm lens. That should be plenty to capture crisp photos in HD.
5. Shoot from multiple perspectives
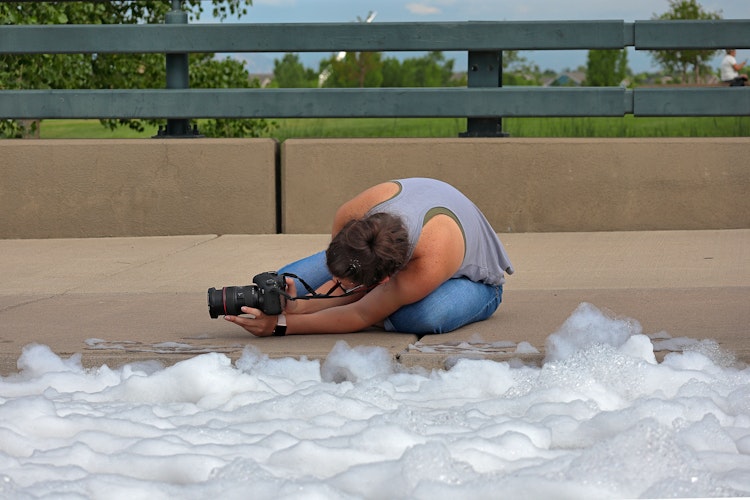
Stand out from the crowd and capture better photographs by shooting from multiple perspectives and various angles.
Get down low, up above, to the side, or even behind the runner (although don’t chase them…). Shooting photos from numerous angles often provides better leading lines – this is how you draw focus to the runner.
6. Capture context, not just the runner
A photo of a runner with no context – other participants in the background, supporters, empty cups of water thrown on the ground – could be taken at any point in time. Instead, capture the context – show part of the race, other runners behind, and let the runner in frame be the hero of the image.
And although context matters, consider lighting. If the lighting is poor in the photo, you might need to crop the photo to include just the runner. While not always necessary, this can help maintain quality and ensure the focus stays on the runner.
Understanding how lighting works ensures your photos clearly display the participant, their emotion, and the context. And if the lighting is poor, consider cropping the photo to include just the participant. Although, if possible, shoot the image using leading lines, and with some context to package up the memory.
7. Use Photohawk to help runners find their images with ease
As you know, shooting the images is only half the battle. And once your hand cramps up from shooting, it’s time to edit and upload the photos.
You want to make it as easy as possible for runners to find their photos. The easier it is, the more likely they are to buy them. So, how do you streamline the process?
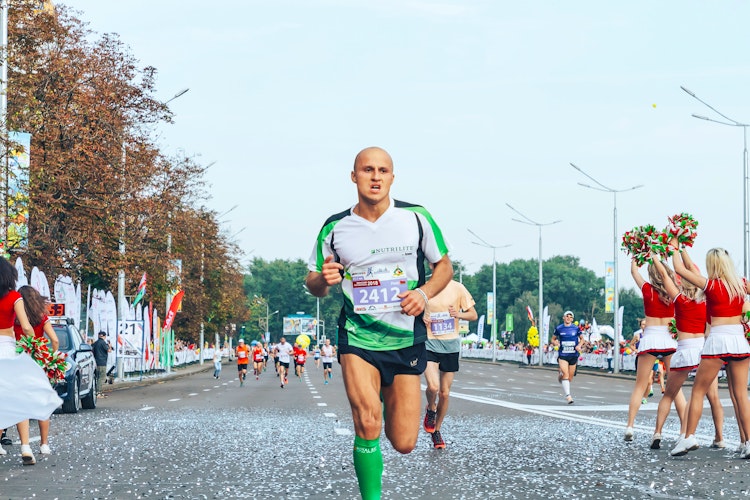
You can upload your images to Photohawk, and our bib number detection software and facial recognition help runners easily find their photos – that means less work for you. And yes, that means no more tagging!
People also read
Here's similar stories that people also read
